SWML
Introduction
SignalWire Markup Language (SWML) lets you write Relay applications using simple statements in a YAML or a JSON document. Relay applications are programs connected to the SignalWire network through a real-time WebSocket connection. They can dynamically and interactively use the services offered by SignalWire, including voice calls, video conferences, messaging and chat.
SWML also allows you to instantiate AI agents. AI Agents hold natural conversations with the caller, and perform actions intuitively based on the resources you have specified (like REST API endpoints or SWAIG functions).
On your SignalWire Dashboard, you can configure SMWL scripts to be executed in response to a phone call, through a Relay script, or when a subscriber calls a SWML resource. You can write and store SWML on the SignalWire Dashboard, but you can also serve SWML scripts directly from a web server. You can even respond with dynamically generated SWML scripts.
SWML and Resource Addresses
SWML is the best-supported way to use the new Call Fabric paradigm. To access a Resource, simply reference its Address using this syntax:
space_name.signalwire.com/context/address
Each Resource Address has two components:
- Context: A identifier that indicates in which context the resource is located.
- Name: The name is the unique identifier for the resource.
For example, the address for a Subscribers resource named Alice in the public context would be /public/Alice.
Learn more by reading our Introduction to Call Fabric or the guide to Managing Resources.
Writing SWML
SWML documents are written in YAML or its equivalent JSON. The following SWML script will answer a call, play some music, then hang up:
- YAML
- JSON
version: 1.0.0
sections:
  main:
    - answer: {}
    - execute:
        dest: play_music
        params:
          to_play: 'https://cdn.signalwire.com/swml/April_Kisses.mp3'
  play_music:
    - play:
        url: '%{params.to_play}'
{
  "version": "1.0.0",
  "sections": {
    "main": [
      {
        "answer": {}
      },
      {
        "execute": {
          "dest": "play_music",
          "params": {
            "to_play": "https://cdn.signalwire.com/swml/April_Kisses.mp3"
          }
        }
      }
    ],
    "play_music": [
      {
        "play": {
          "url": "%{params.to_play}"
        }
      }
    ]
  }
}
Let us walk through the components of this script.
version
Every SWML script starts with a version string.
Version 1.0.0 is the latest, and the only supported version.
sections
Each SWML script is divided into sections, which are arrays of statements and methods to execute.
Methods that don't expect parameters are be mentioned as strings (like answer).
Methods with parameters are invoked as objects
(like execute and play).
Every SWML script must have the main section, which is where execution starts.
You can switch to other sections by using either the execute method
or the transfer method.
Sections behave like functions when you invoke them with the execute method,
but when you invoke a section using transfer,
control is transferred to the new section and doesn't return.
In the example above, we have two sections: main and play_music.
The main section first answers the call.
Then it executes the play_music section which calls the play method.
Variable substitution and expression evaluation
Anything inside a %{ } bracket is considered a JavaScript expression.
This can be used to insert variables in SWML.
In the example, params passed through the execute method are accessed by%{params.to_play}.
If we wanted to lowercase the URL, we could have written %{params.to_play.toLowerCase()}.
AI in SWML
You can use the AI methods to very quickly create flexible AI agents.
- YAML
- JSON
version: 1.0.0
sections:
  main:
    - ai:
        post_prompt_url: https://example.com/my-api
        prompt:
          text: |
            You are Franklin's assistant, and your job is to collect messages for him over the phone.
            You can reassure that Franklin will get in touch as soon as possible.
            Collect the user's name and number if you do not already know it from the caller id.
            Start by presenting yourself, then let the contact know that Franklin is not available, then offer to collect a message.
            After collecting the message, do not wait for the user to end the conversation: say good bye and hang up the call.
        post_prompt:
          text: |
            Summarize the message as a valid anonymous json object by filling the upper case placeholders in this template:
            { "contact_info": { "name": "CONTACT_NAME", "number": "CONTACT_PHONE" }, "message": "MESSAGE" }
{
  "version": "1.0.0",
  "sections": {
    "main": [
      {
        "ai": {
          "post_prompt_url": "https://example.com/my-api",
          "prompt": {
            "text": "You are Franklin's assistant, and your job is to collect messages for him over the phone.\nYou can reassure that Franklin will get in touch as soon as possible.\nCollect the user's name and number if you do not already know it from the caller id.\nStart by presenting yourself, then let the contact know that Franklin is not available, then offer to collect a message.\nAfter collecting the message, do not wait for the user to end the conversation: say good bye and hang up the call.\n"
          },
          "post_prompt": {
            "text": "Summarize the message as a valid anonymous json object by filling the upper case placeholders in this template:\n{ \"contact_info\": { \"name\": \"CONTACT_NAME\", \"number\": \"CONTACT_PHONE\" }, \"message\": \"MESSAGE\" }\n"
          }
        }
      }
    ]
  }
}
In this example, we instantiate an AI agent with instructions to get messages from the caller.
Once the call ends, the post_prompt text will summarize the conversation and HTTP POST it to the post_prompt_url.
Check out our AI Santa guide for a complete example.
Serving SWML
From the Dashboard
This use case is described in detail in the Making and Receiving Phone Calls guide.
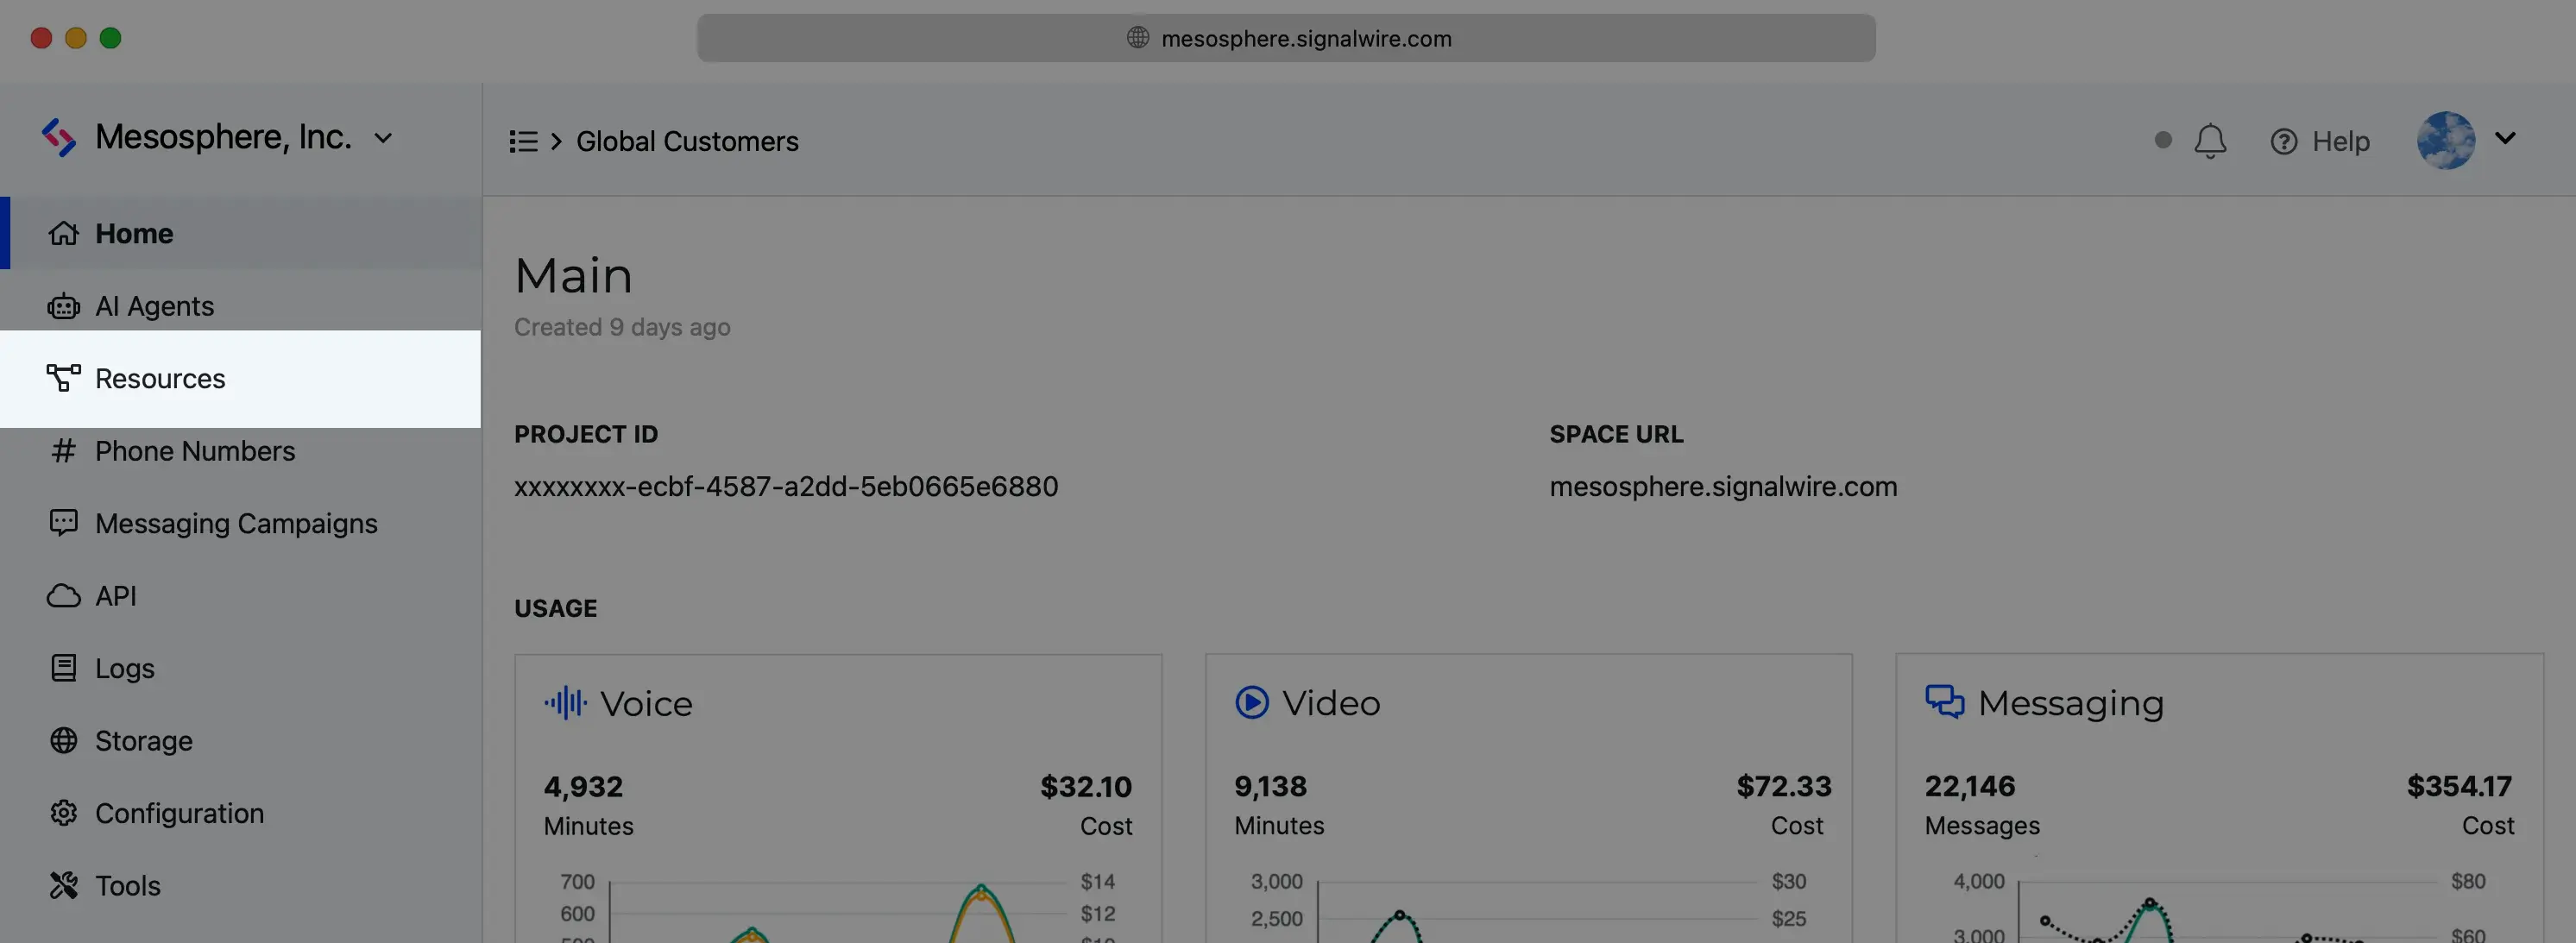
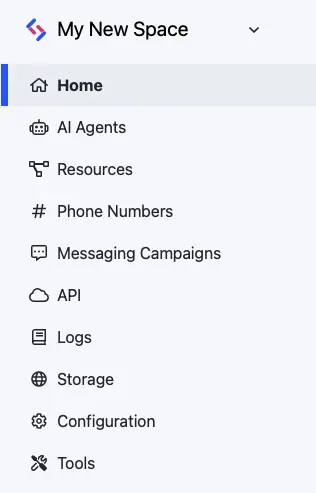
Open the Resources tab
Find the Resources tab in the main sidebar menu of your Dashboard.
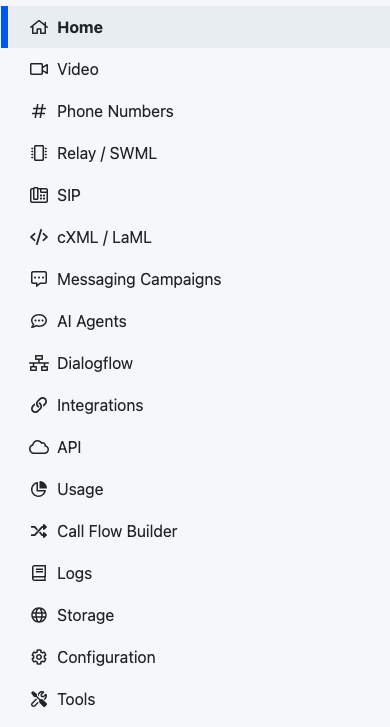
If you don't see the Resources tab, your SignalWire Space is on the Legacy Dashboard. Refer to the Legacy section of this guide for instructions for your Dashboard and information about the migration.
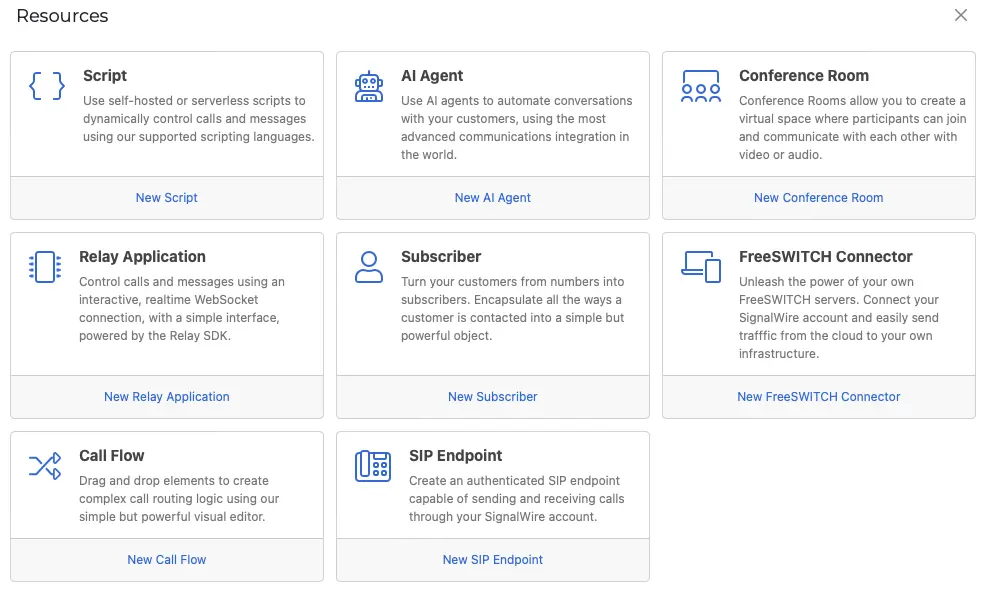
Create and manage all Resources from the SignalWire Dashboard.
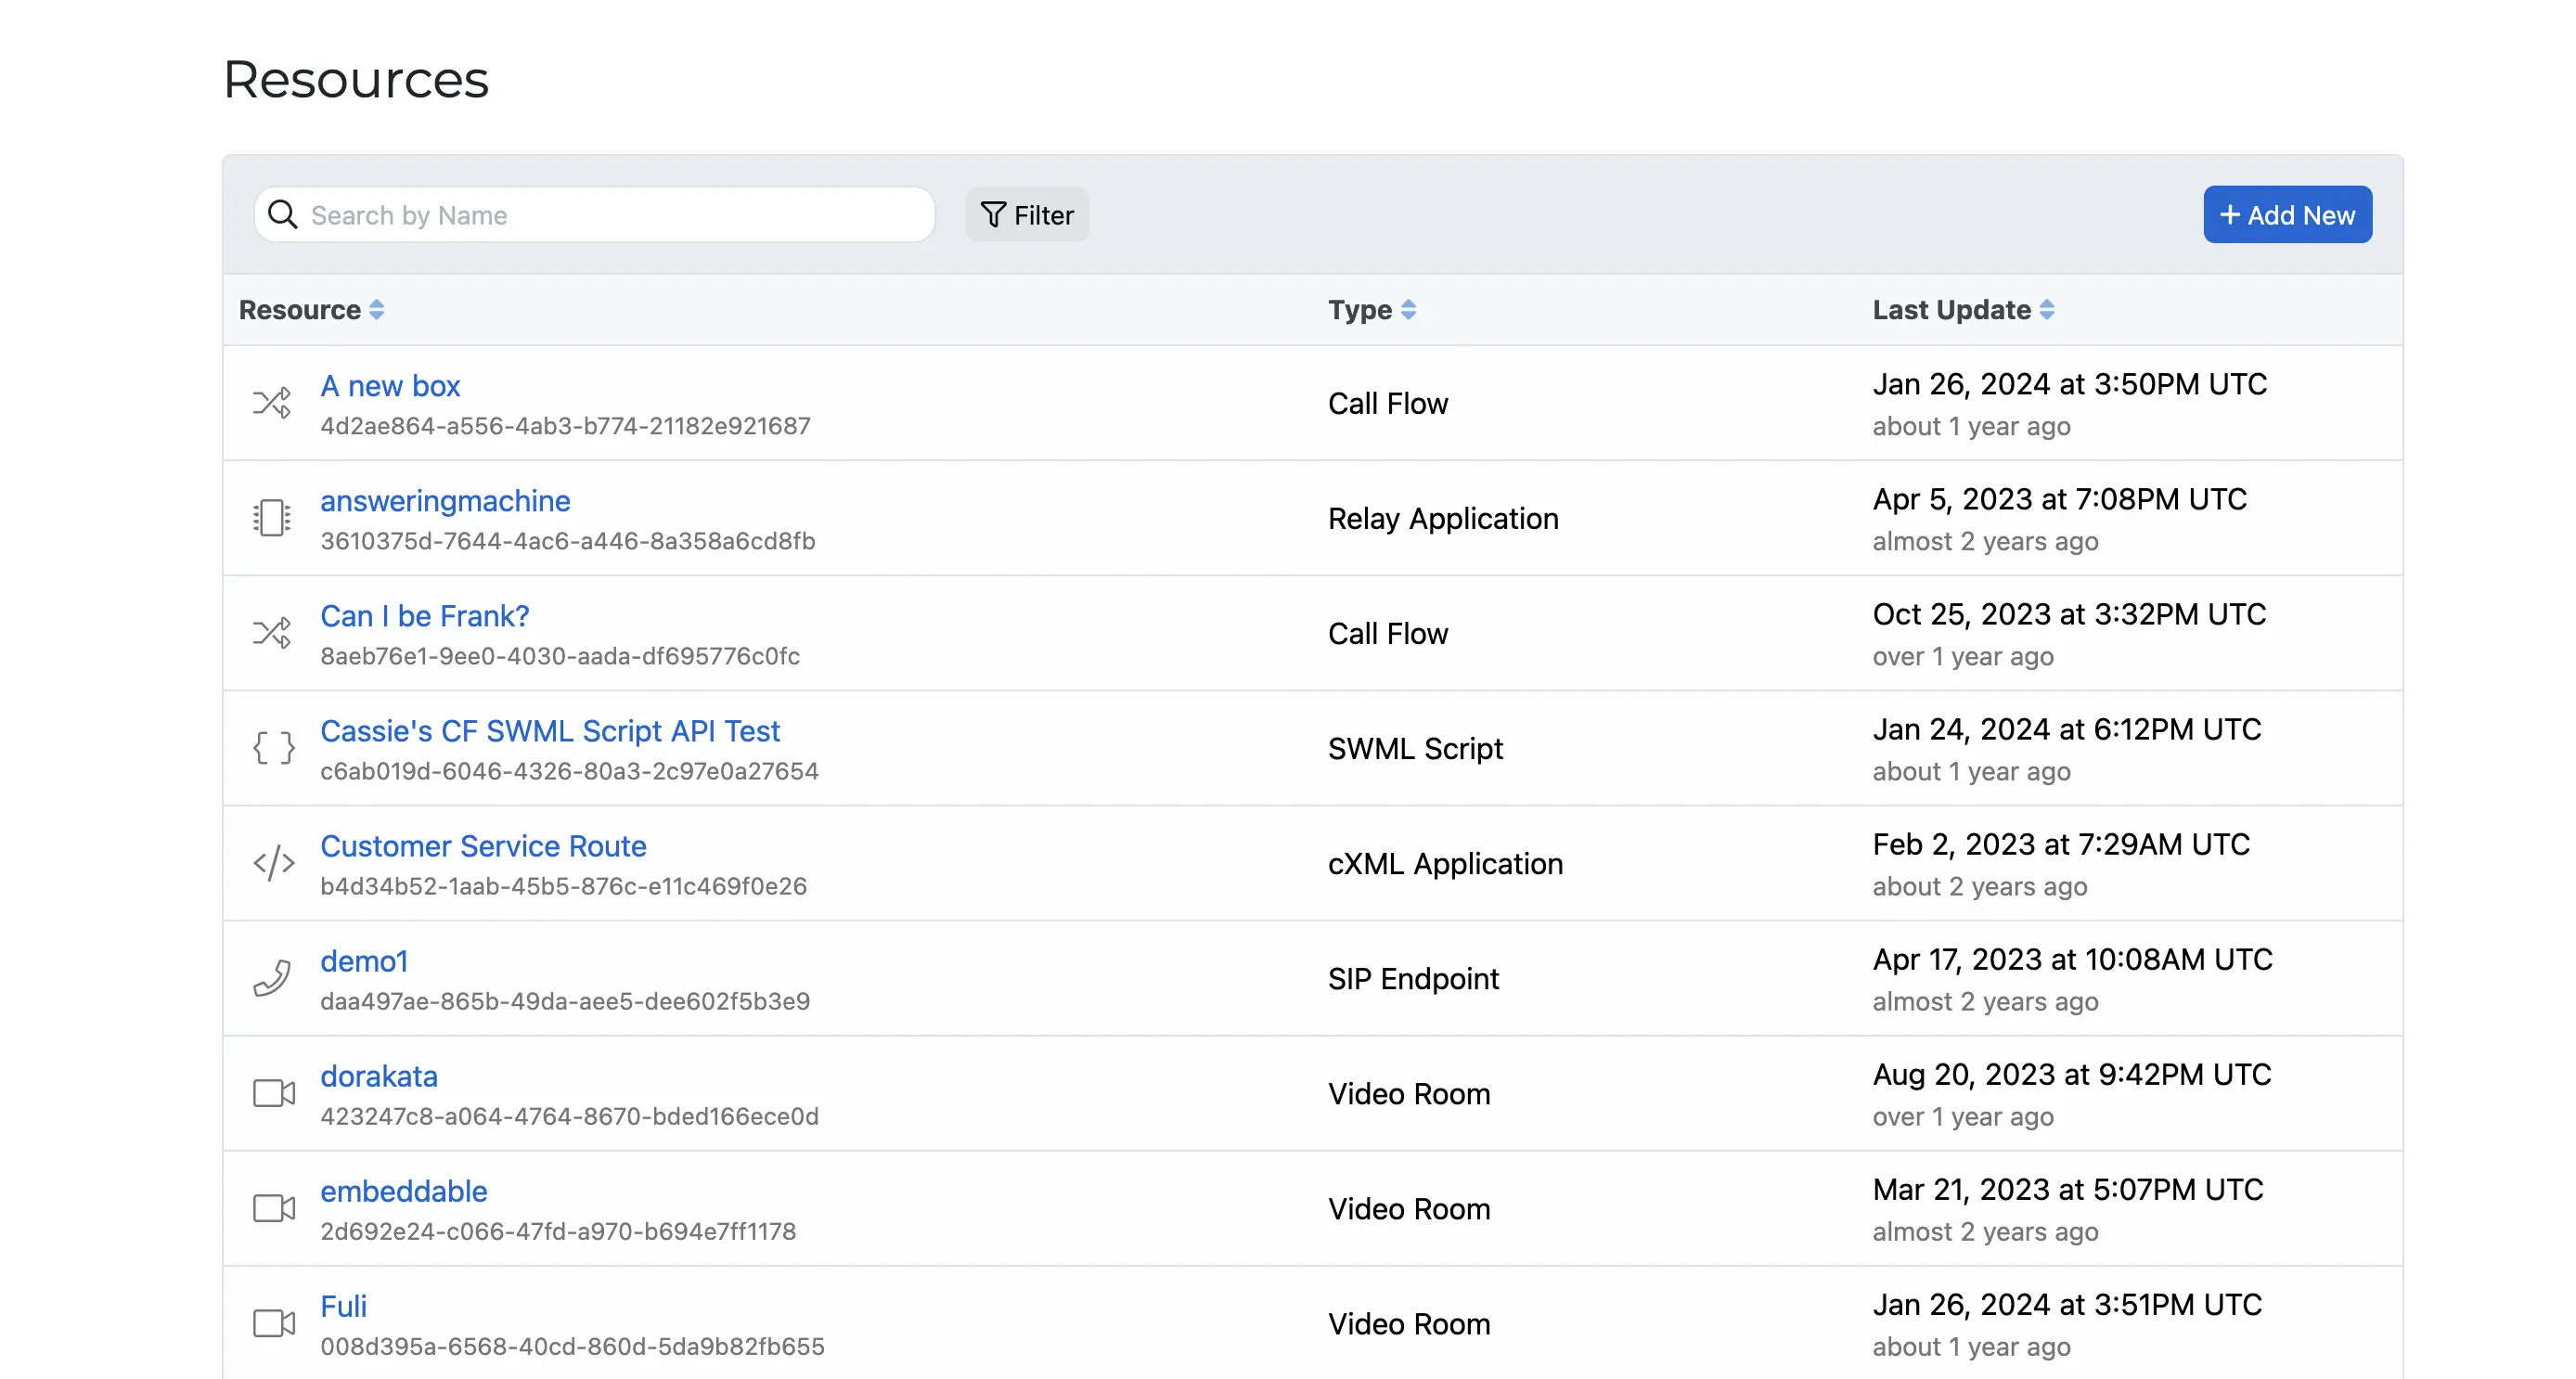
Create a new SWML Script
From within the Resources tab, click Add New and select SWML Script.
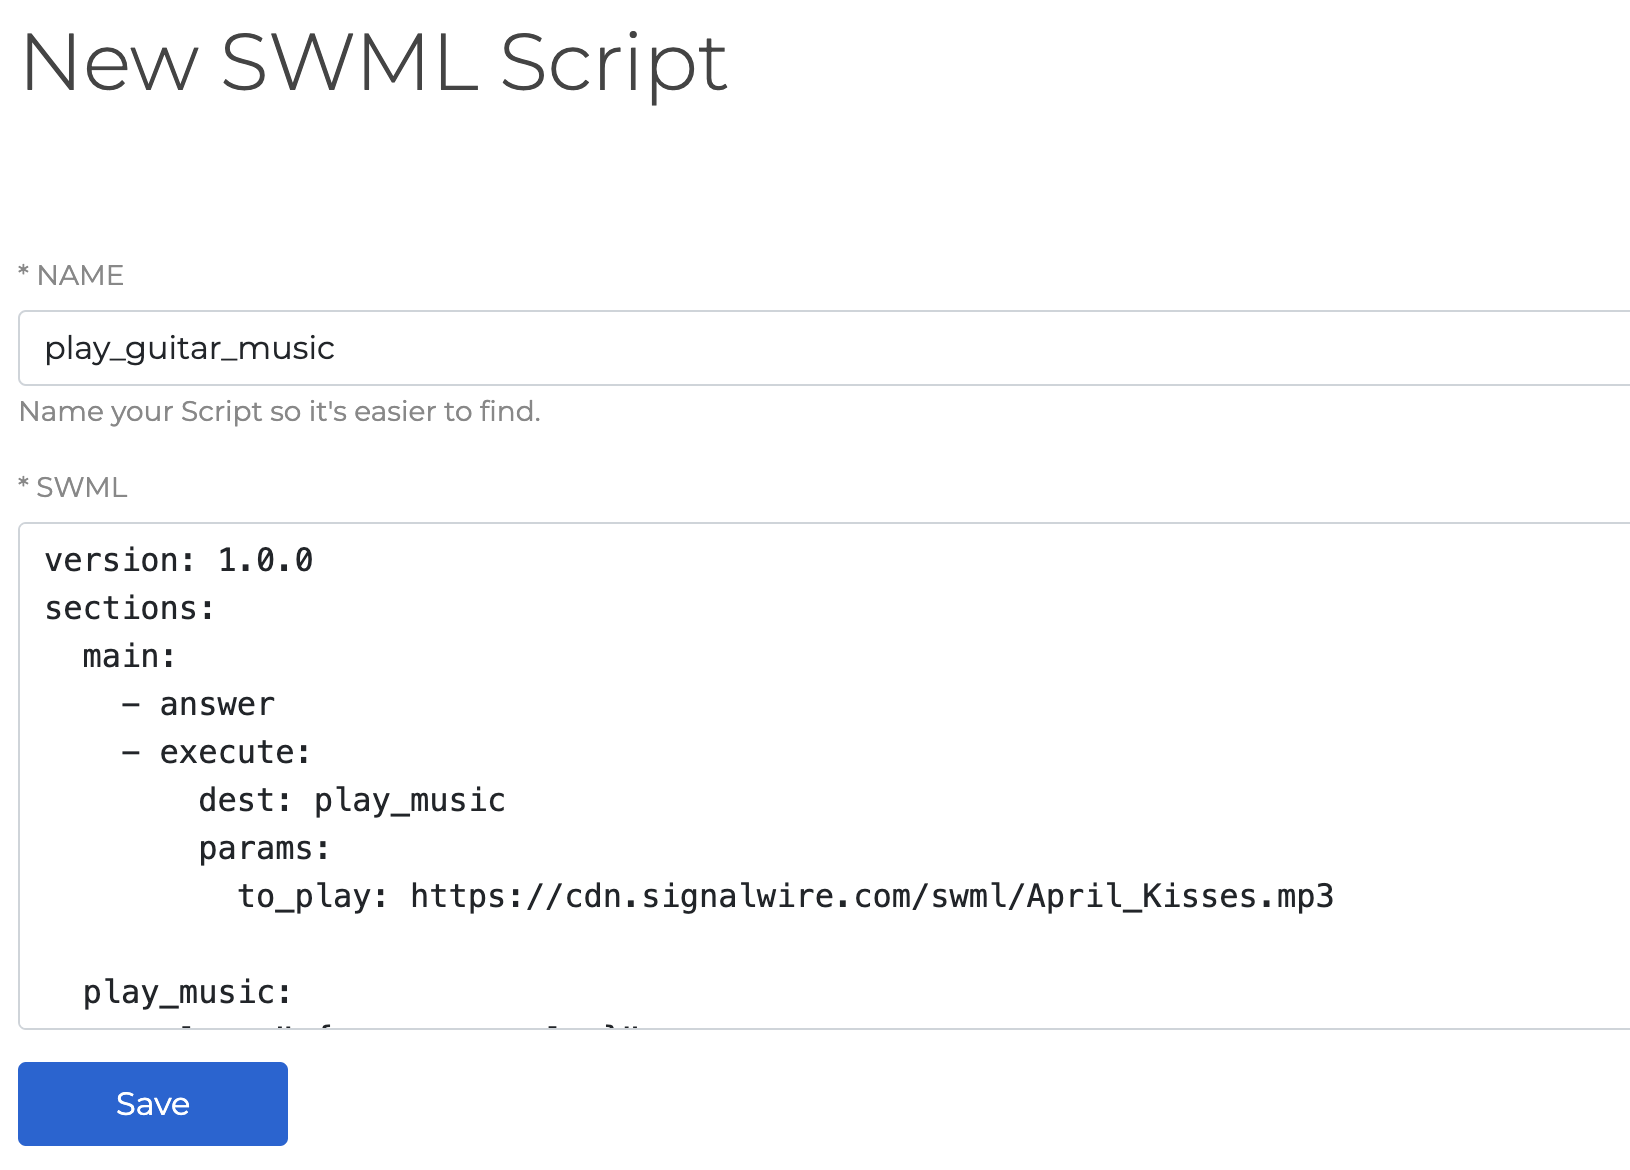
Save the SWML Script
Input your SWML and save.
In the Legacy Dashboard
From a web server
This use case is described in detail in the Handling Incoming Calls from Code guide.
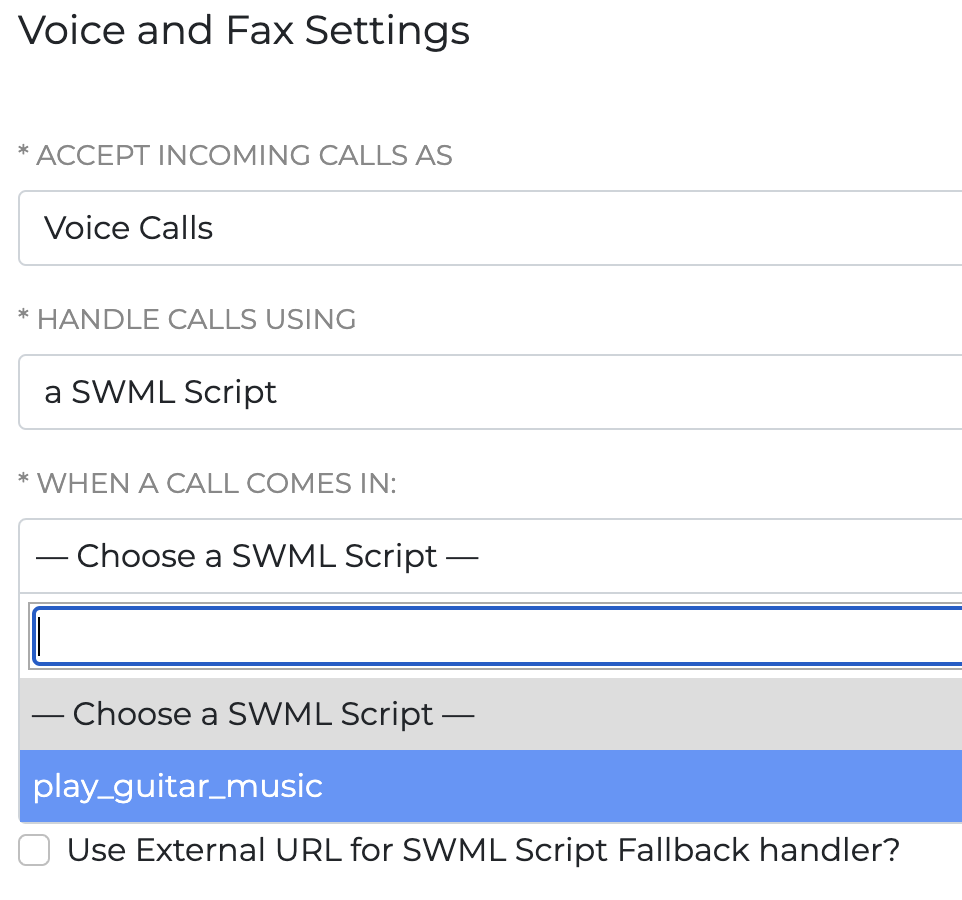
In the phone number settings, when you check the "Use External URL for SWML Script handler?" option, you can set a Web URL that will serve the SWML script. Every time a call comes in (or some other designated event occurs), you'll get a HTTP POST request to the URL with the following JSON parameters:
| Parameter | Type | Description |
|---|---|---|
call | Call object | Contains properties describing the call. |
vars | any object | Contains the list of variables set in the calling SWML. Empty when invoked as a direct response to a call. |
params | any object | Contains the list of params set by the calling SWML. Empty when invoked as a direct response to a call. |
The following is an example JSON that you might receive as a POST request on your server when a SWML is requested.
{
  "call": {
    "call_id": "<CALL_UUID>",
    "node_id": "<NODE_ID>",
    "segment_id": "<SEGMENT_ID>",
    "call_state": "created",
    "direction": "inbound",
    "type": "phone",
    "from": "<CALLING PHONE NUMBER>",
    "to": "<THE NUMBER ATTACHED TO THE SWML>",
    "from_number": "<CALLING PHONE NUMBER>",
    "to_number": "<NUMBER ATTACHED TO THE SWML>",
    "headers": [],
    "project_id": "<YOUR PROJECT ID>",
    "space_id": "<YOUR SPACE ID>"
  },
  "vars": {}
}
The Call Object
The call object is a description of the received call.
It will have the following properties:
| Parameter | Type | Description |
|---|---|---|
call_id | string | A unique identifier for the call. |
node_id | string | A unique identifier for the node handling the call. |
segment_id | string | A unique identifier for the segment. |
call_state | string | The current state of the call. |
direction | string | The direction of this call. Possible values: inbound, outbound |
type | string | The type of call. Possible values: sip, phone |
from | string | The number/URI that initiated this call. |
to | string | The number/URI of the destination of this call. |
headers | object[] | The headers associated with this call. |
headers.name | string | The name of the header. |
headers.value | string | The value of the header. |
project_id | string | The Project ID this call belongs to. |
space_id | string | The Space ID this call belongs to. |
The vars object and the params object will be empty for a new call.
If you're executing a remote SWML script using the execute or transfer methods,
the vars parameter has a list of the variables declared in the script so far.
And the params object has the list of parameters explicitly set by the execute or transfer methods.
You can also reference the properties of call and params objects during the script execution using the variable subtitution bracket like so:
- YAML
- JSON
version: 1.0.0
sections:
  main:
    - play:
        url: 'say:%{call.from}'
{
  "version": "1.0.0",
  "sections": {
    "main": [
      {
        "play": {
          "url": "say:%{call.from}"
        }
      }
    ]
  }
}
Further, consider the following SWML script:
- YAML
- JSON
# hosted on https://example.com/swml.yaml
version: 1.0.0
sections:
  main:
    - play:
        url: '%{params.file}'
    - return: 1
{
  "version": "1.0.0",
  "sections": {
    "main": [
      {
        "play": {
          "url": "%{params.file}"
        }
      },
      {
        "return": 1
      }
    ]
  }
}
It references params.file in it's play method.
If this SWML was invoked as a response to a phone call, it would cause an error as the params object is empty.
But if it was hosted on a server and called with the execute or the transfer method,
the params object is passed into the SWML.
The SWML above can be invoked as follows:
- YAML
- JSON
version: 1.0.0
sections:
  main:
    execute:
      dest: https://example.com/swml.yaml
      params:
        file: https://cdn.signalwire.com/swml/audio.mp3
{
  "version": "1.0.0",
  "sections": {
    "main": {
      "execute": {
        "dest": "https://example.com/swml.yaml",
        "params": {
          "file": "https://cdn.signalwire.com/swml/audio.mp3"
        }
      }
    }
  }
}
From a Relay application
You can also execute SWML from a Relay application. The following is an snippet using the RealTime API.
const { Voice } = require("@signalwire/realtime-api");
const script = `
version: 1.0.0
sections:
  main:
    - answer: {}
    - execute:
        dest: play_music
        params:
          to_play: 'https://cdn.signalwire.com/swml/April_Kisses.mp3'
  play_music:
    - play:
        url: '%{params.to_play}'
`;

const client = new Voice.Client({
  project: "<your project token>",
  token: "<your project API key>",
  topics: ["swml"],
});

client.on("call.received", async (call) => {
  try {
    await client.execute({
      method: "calling.transfer",
      params: {
        node_id: call.nodeId,
        call_id: call.callId,
        dest: script,
      },
    });
  } catch (error) {}
});
In this snippet, we are registering an event for every time a call is received to any phone number in your project with the topic "swml".
You can set the topics a number is subscribed to from the phone number settings page in the SignalWire Dashboard.
Every time a call is received, the SWML script is executed using the client.execute method.